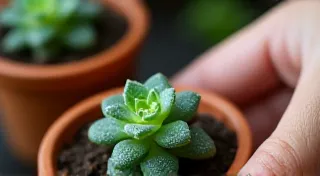
DIY Plant Food: Natural Recipes for Happy Houseplants
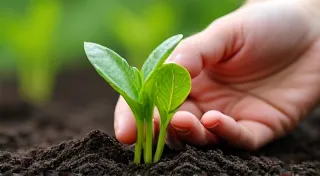
Bringing greenery into your home is a wonderful way to brighten your space and improve your well-being. But keeping those houseplants thriving can sometimes feel overwhelming. While commercial plant food is readily available, it's often packed with chemicals and can be expensive. The good news? You can create your own plant food using common household ingredients! This guide will explore simple, natural recipes to nourish your houseplants and keep them happy and healthy.
Why DIY Plant Food?
- Cost-Effective: Save money by using ingredients you likely already have.
- Environmentally Friendly: Reduce your reliance on processed chemicals and plastic packaging.
- Gentle & Natural: Many commercial plant foods can be harsh. Natural recipes provide nutrients in a more gentle way.
- Customizable: Adjust the recipes to suit the specific needs of your plants.
Simple Recipes for Happy Plants
Here are a few easy-to-follow recipes for DIY plant food. Always dilute these recipes when using them—less is often more! Over-fertilizing can be as harmful as under-fertilizing. Before diving into DIY fertilizers, it's important to understand the basics of plant care – like ensuring proper watering. It's easy to over or underwater plants, which can hinder their ability to absorb nutrients. Many factors impact a plant’s ability to thrive, including the amount of light it receives. Finding the perfect spot for your indoor plants is essential for healthy growth. Check out our watering guide for beginners to master the art of hydration.
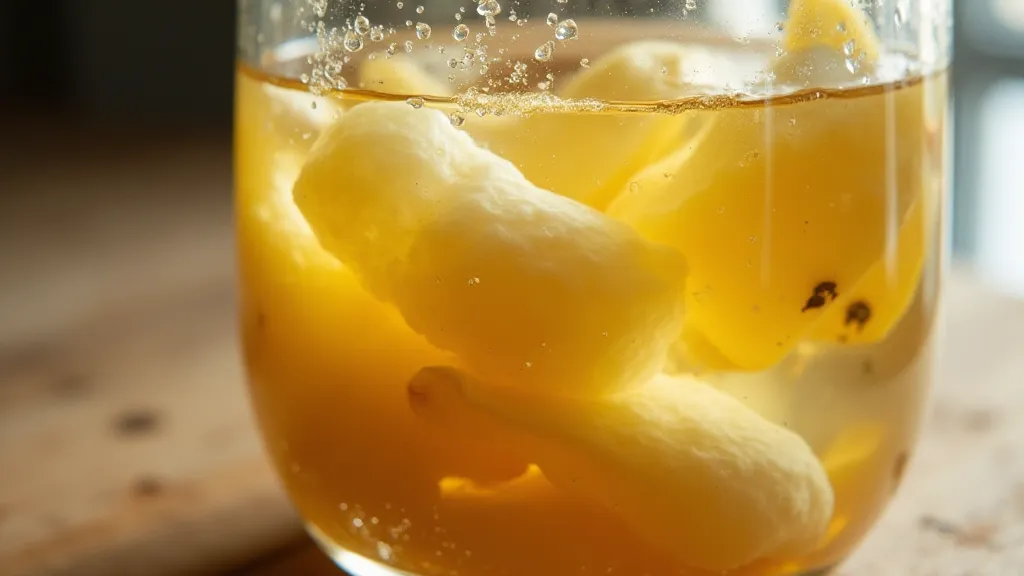
1. Banana Peel Fertilizer
Banana peels are packed with potassium, a crucial nutrient for healthy growth, strong roots, and beautiful blooms. There are two main ways to use them:
- Banana Peel Water: Place banana peels in a jar of water. Let them soak for a few days, until the water turns a brownish color. Dilute this "banana tea" with fresh water (1 part banana tea to 1 part water) before using.
- Directly in the Soil: Chop up banana peels and bury them a few inches deep near the base of your plants. They will decompose and release nutrients slowly.
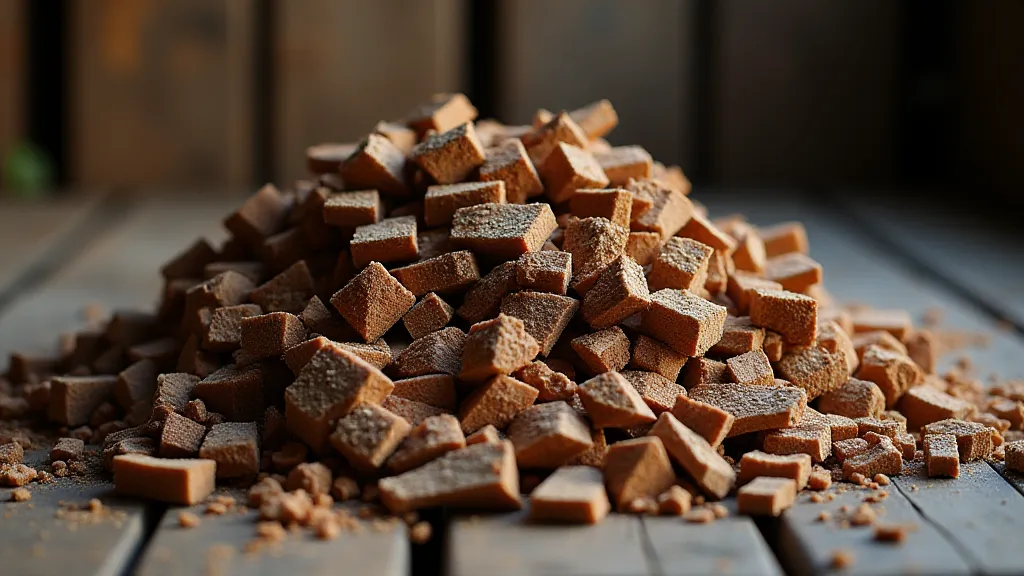
2. Eggshell Fertilizer
Eggshells are a fantastic source of calcium, which helps strengthen cell walls and prevent blossom end rot in plants like tomatoes and peppers.
- Rinse eggshells thoroughly to remove any remaining egg white.
- Let the shells dry completely.
- Grind the dried shells into a fine powder using a blender or food processor.
- Sprinkle the eggshell powder lightly around the base of your plants and gently work it into the soil.
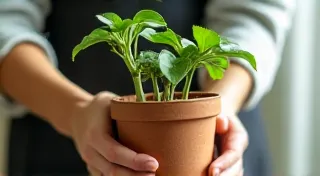
Tip: Acidic soil can hinder calcium absorption. If your soil is acidic, adding a small amount of bone meal alongside the eggshell powder can help. Furthermore, ensuring your plant is in the right size container is also essential. Choosing the right pot size contributes to the overall health and vigor of your houseplants.
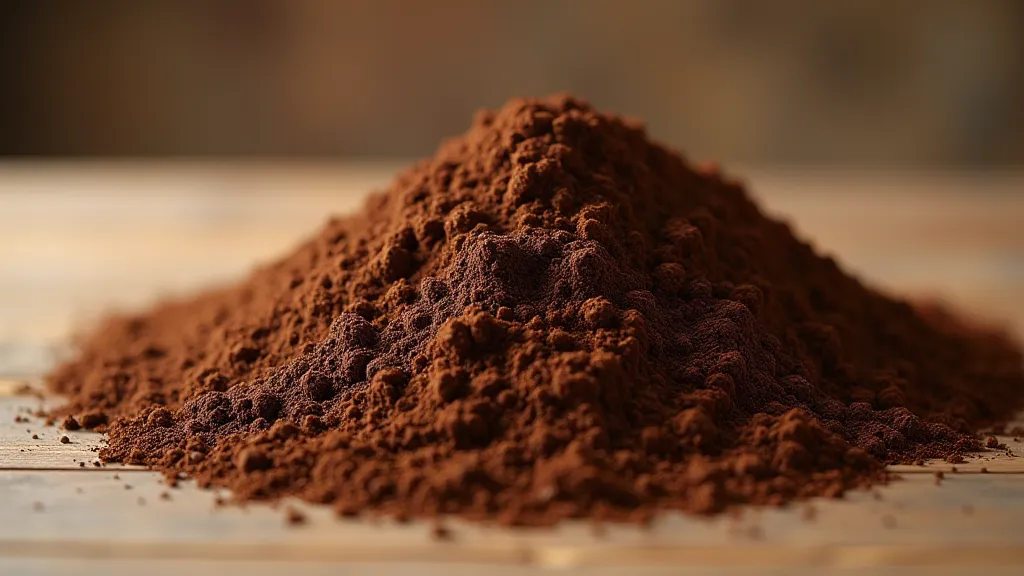
3. Coffee Grounds Fertilizer
Used coffee grounds are a great source of nitrogen, an essential nutrient for leaf growth. They also contain small amounts of phosphorus and potassium. However, coffee grounds can be acidic, so they's best used for plants that prefer slightly acidic soil (like blueberries, azaleas, and hydrangeas). The pH of your soil plays a crucial role in how well your plants absorb nutrients. Understanding your soil's properties is vital. Factors like drainage, aeration, and nutrient availability all contribute to a plant's health. If your plants are showing signs of stress, it might be a good idea to consider repotting them and checking the soil conditions. A guide to repotting houseplants can help you through the process.
- Allow the coffee grounds to dry completely. This prevents mold growth.
- Sprinkle the dried coffee grounds lightly around the base of your plants and gently work them into the soil.
- Alternatively, you can add coffee grounds to your compost pile.
4. Aquarium Water
If you have an aquarium, don't dump that water! It’s a fantastic natural fertilizer for your houseplants. Aquarium water is rich in nitrogen and phosphorus from fish waste and uneaten food. It’s a complete, gentle fertilizer. Just use it to water your plants as usual.
5. Wood Ash Fertilizer
Wood ash, a byproduct of burning untreated wood, is a source of potassium and other nutrients. However, it’s very alkaline and can significantly raise your soil’s pH. Use sparingly and only for plants that thrive in alkaline soil (like lavender and clematis). Always test your soil pH before using wood ash.
Understanding Seasonal Needs and Environmental Factors
Just like us, houseplants have seasonal needs. What works well in the vibrant growth period of spring and summer might not be ideal during the dormant winter months. Adjusting your fertilization schedule is part of maintaining a thriving indoor garden. For example, in the fall and winter, many plants slow down their growth significantly, requiring less fertilizer. Conversely, during the active growth season, they benefit from more frequent applications. The container itself plays a role; a pot that's too small can stunt growth and make nutrient uptake difficult. Ensuring proper drainage is equally important to prevent root rot.
Important Considerations
- Soil pH: Always consider your soil's pH when using DIY fertilizers. Some fertilizers are acidic, while others are alkaline.
- Dilution: Always dilute DIY plant food recipes before use.
- Observation: Pay close attention to your plants' response to any new fertilizer. Adjust the recipe or frequency of application as needed.
- Testing: A soil test is a great way to determine the nutrient content of your soil and guide your fertilizing decisions.
Beyond Fertilizing: Creating the Ideal Environment
While fertilizing is essential, it’s only one piece of the puzzle. Plants also need adequate light, water, and humidity to thrive. Creating the right environment can be just as important as providing nutrients. Some plants, particularly tropical varieties, thrive in high-humidity environments. If your home is dry, you might need to take steps to increase humidity, such as using a humidifier or grouping plants together. Learning to mimic their natural habitat conditions is crucial for their well-being. A controlled environment also helps prevent pest infestations and diseases. Understanding the specific needs of each plant species is key to creating a flourishing indoor garden.
Expanding Your Knowledge: Advanced Techniques
Once you’ve mastered the basics of DIY fertilizing, you can explore more advanced techniques. For example, you can start composting your own kitchen scraps and yard waste to create a nutrient-rich soil amendment. Learning about different composting methods, like vermicomposting (using worms), can further enhance the quality of your compost. You can also learn about different types of organic fertilizers, such as seaweed extract and worm castings. Furthermore, understanding the role of beneficial microbes in the soil can lead to healthier, more resilient plants. The more you learn about plant nutrition, the better equipped you'll be to provide your houseplants with everything they need to flourish.
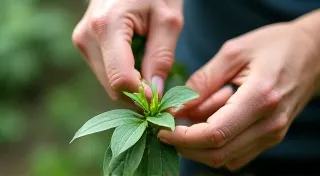
Experimentation is also a crucial part of the learning process. Different plants respond differently to various fertilizers, so don't be afraid to try new things and see what works best for your collection. Keeping a gardening journal can help you track your experiments and identify patterns in plant responses. With a little experimentation, you can easily create your own natural plant food and give your houseplants the nutrients they need to thrive! Don’t forget, proper plant care isn’t just about feeding; it’s about providing a holistic approach to plant health.
Ultimately, the goal is to create a thriving ecosystem where your houseplants can flourish and bring joy to your home. By understanding their needs and providing them with the right care, you can enjoy the beauty and benefits of indoor gardening for years to come.